Natural herbal soap making is something I LOVE to do! I love the creativity that’s involved, as well as the nourishing benefits of the final product. So I’m excited to teach you how to make herbal soap!
I only use natural, healthy ingredients and stay away from anything that’s even questionable. There aren’t a lot of teachers out there who stand firm in this regard. There are too many who end up adding toxic fragrances, colors, and other additives like titanium dioxide and man dyed micas.
There’s no need to add poor ingredients that, in my opinion, ruin your final product when there are so many options out there! If you’re here, chances are you think think the same way.
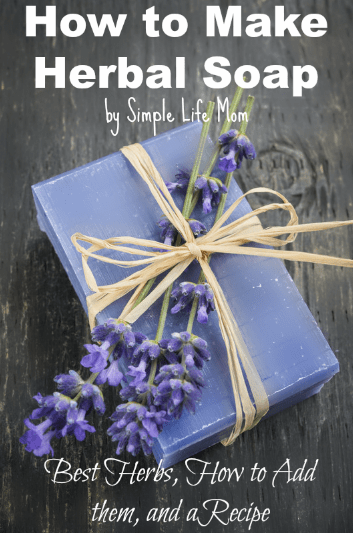
How to Make Herbal Soap
A lot of you have great questions. Here are a few:
- What are beneficial herbs to use in soap?
- What are some methods for adding herbs?
- Do herbs need to be prepped before-hand?
I’ll answer these questions now. Let me know in the comments if you have other questions. If I don’t know the answer, I’m sure some of our other great soapers can help.
If you are new to soap making and need to know more, see my book The Natural Soap Making Book for Beginners and Natural Soap Making How-to and Recipe Book.
Beneficial Herbs to Use in Soap
The sky’s the limit when it comes to adding herbs to soap, just make sure they are all dried. See below for best methods.
- Lavender petals
- Cornflower petals
- Peppermint leaf
- Calendula flowers
- Chamomile flowers
- Comfrey leaf
- Henna leaf
- Lemon Balm leaf
- Rosemary
- Rose petals
- Lemongrass
- Juniper berry, dried
- Anise, whole or ground
- Nettle leaf
- Poppy seeds
- Spirulina powder
- Marshmallow root
- Cloves, whole or ground
- Jasmine flower
- your favorite tea!
Methods for Adding Herbs to Soap
My favorite way to make soap is cold-processing, but you can also add herbs with these methods when hot-processing. Since the saponification has already occurred in melt and pour soaps, simply use dried herbs on top or within your creations.
1) Hot or Cold Oil Infusion
Whether you pour hot oil over herbs and allow it to cool, or set the jar of oils and herbs on your windowsill for 6 weeks, an oil infusion is a wonderful way to add color and medicinal properties to your soap.
Simply replace whatever oil you used in your infusion with the oil in your recipe (e.g. your recipe calls for 8oz olive oil so substitute 8oz of infused olive oil instead).
Instructions for Hot oil Infusion:
Choose your recipe. Most have olive oil, so it’s usually a great choice to infuse so that you can substitute pure olive oil for your infused olive oil.
- Heat 8oz oil over low heat until hot.
- Place 1 tablespoon of dried herbs into a jar (or fill with fresh herbs).
- Pour hot oil over herbs and allow to cool.
- Let sit for 3-4 hours if time allows, otherwise you can use as soon as it cools.
Instructions for Cold Oil Infusion:
A lot of people choose the cold oil infusion method, because it is more gentle on the oil and herbs being used. Follow these instructions:
- Place 1 tablespoon of dried herbs into a jar (or fill with fresh herbs).
- Pour oil over herbs until covered and seal.
- Lightly shake and set in sunny window sill for 2-4 weeks (longer if you are working on color infusion as well)
2) Lye Water Tea
Herbs can also be added to soap through the lye water. Simply make a tea, discard or save the herbs to be added later, and use the tea as the water within your soap recipe.
3) Added to the Top or Within Soap
Lastly, herbs can be added as decoration to the top of the soap or stirred within the soap before pouring.
When adding to the top of a batch of soap, simply sprinkle the desired herb on top of a thin traced batch, or use a gloved hand to gentle pat them into the top enough so that they “stick” and don’t fall off later.
When adding throughout your soap bar, add at trace and mix well.
4) Powdered
Another way to get that herbal power within soap is to add a finely powdered version to your lye water, soap batter, or oil in fusion. If you’re going for color at the same time, see my Natural Herbal Coloring Chart.
Prepping Herbs Before-Hand
A lot of herbs “bleed” within a soap bar if they are not soaked beforehand; leaving a brown halo around the herb within the soap.
To avoid this, first make a tea. You can discard the water if you are wanting to make your bars a lighter or particular color. Otherwise, use the tea water as your lye water and get added nourishment in your soap.
Add the used herbs into your soap at trace if desired. Most herbs added to the top will only brown slightly, if at all.
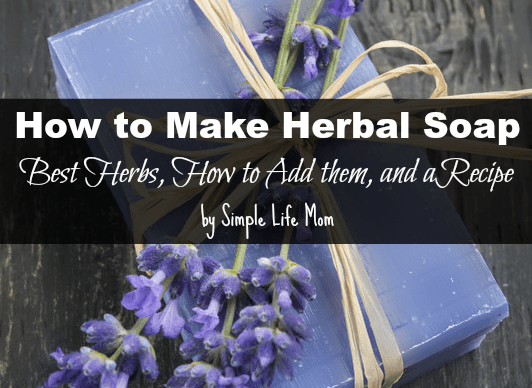
You can get more detailed instructions, such as using herbs for coloring and amounts to use in my book, The Natural Soapmaking Book for Beginners.
I’ve put together an herbal soap recipe for you to try your new herbal skills on.
Lavender Soap Recipe
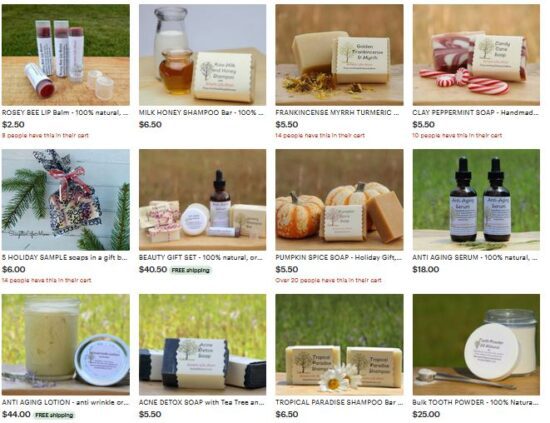
This recipe makes twelve 4 ounce bars or 3 lbs. Try my herbal soaps (including this lavender soap recipe) in my Shop: Click Here.
Ingredients:
- 10 ounces olive oil
- 12 ounces tallow
- 10 ounces coconut oil
- 8 ounces avocado oil
- 4.6 ounces lye
- 12 ounces filtered water
- 1 ounce lavender essential oil
- 1 teaspoon alkanet root powder
- 2 tablespoons lavender flowers, divided
Directions:
- Infuse 8 ounces olive oil with 1 tsp alkanet root powder and 1 tablespoon lavender flowers. Gently heat olive oil in saucepan until hot. Remove from heat and add alkanet root and lavender flowers. Allow to cool. Pour through a cheese cloth to remove any grains or flowers.
- Weigh all ingredients. I like to weigh the lye crystals into a plastic zip close bag.
- Prepare mold.
- Combine infused olive oil, tallow, coconut oil, and avocado oil in a large pot over low heat and heat until all oils are combined. Cool to 100 degrees Fahrenheit.
- Wearing gloves, safety glasses, and mask, go outside and pour lye into water, stirring until it is dissolved. Allow to cool to 100 degrees Fahrenheit.
- Pour lye water into the oils and blend with an immersion blender or hand mixer on and off until light trace. To learn more about trace, click here.
- Pour into mold and sprinkle with 1 tablespoon lavender petals. Gently pat with a gloved hand if necessary.
Insulate for 24 hours. Remove from mold, cut, and cure for 4-6 weeks.


25 Comments
Leave your reply.