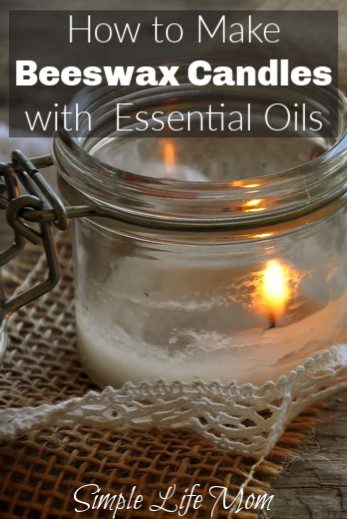
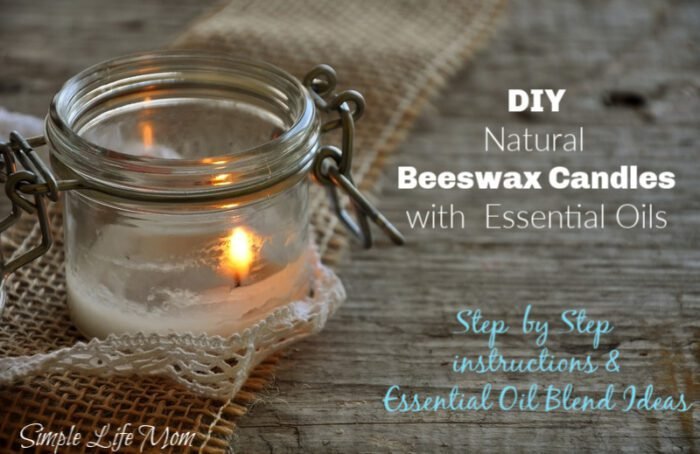
I love a cozy candle with a subtle scent. Especially around the holidays. It just makes a place seem comfortable and welcoming. The thought of having natural beeswax candles scented with essential oils makes completes the picture because you KNOW you’re cutting down on the toxins you’re breathing into your body and putting around your home.
Bonus: I’ve detailed some holiday essential oil blends to choose from below so that you can create your own to fit the season!

Benefits of Natural Beeswax Candles
Though soy is light years above paraffin candles, health wise, almost all of our soy is genetically modified and filled with toxins!
Beeswax is actually a natural air purifier. It works similarly to bentonite clay in that it puts off negative ions. Many toxins in our bodies and in the air are positively charged. The negative ions bond with negative ions and help make them unavailable to your body.
Scented candles also put off toxins from the unhealthy chemical brew that is used to make fragrance oils (see more on fragrance oils here). Essential oils added to a candle actually become a diffusion of benefits in your home rather than a tax on your health.
So, cut out the toxic air and lead from lead filled wicks and get cozy with confidence.
Learn About the Process
The Wax
Most natural candle makers will tell you, a natural beeswax candle is often half beeswax and half a softer oil like coconut or palm kernel oil (also called palm shortening) harvested sustainably. Other options are using coconut oil, tallow or lard.
100% beeswax:
100% beeswax candle has a high melting point, meaning your candle will melt down the center. This will still work. You can always melt down the leftover wax and make more candles. So, if you’d like to avoid using any palm or coconut then that is one option.
50% Tallow or Lard:
If you choose to use tallow or lard, make sure you are well aware of the source and are going to add essential oils for scent because tallow and lard can really stink.
25% Coconut Oil:
Coconut oil is one of my favorites to mix into bees wax. I think a 1:4 ratio to wax works the best. Make sure your container is warm to the touch before pouring so that it sets nicely.
50% Palm Oil:
Find a sustainable source of palm and use up to 50% palm to bees wax. As with coconut, make sure your container is warm to the touch before pouring so that it sets nicely.
The Wick
Wick size is important. Too large and it will burn through your candle like lightening. Too small and it will not use up the wax like you want it to and you won’t benefit from the essential oil and light from the candle.
You will want to use a square braid, cotton wick. This helps bring the wax up to the flame to burn.
The numbers for sizes can be confusing. They have to do with ply, bundle, and how tightly it is braided.
The easiest quick start I would recommend is creating candles in 4 ounce jelly jars or 8 ounce wide mouth mason jars. These jars do really well with #4 (click here) and #6 (click here) wick sizes.
The Containers
Containers and wick sizes go hand in hand. The larger the diameter of the top of the candle, the larger the wick you will need. Since this is a quick start, I’m using 4 ounce jelly mason jars.
Prepare containers by warming them in an oven on its lowest setting. They should be very warm to the touch, but do not need to be so hot that they burn your fingers or the glass cracks.

How to Make Beeswax Candles with Essential Oils
These directions will make Four 4oz candles.
Ingredients and Supplies:
- 12 ounces bees wax
- 3 ounces coconut oil
- Essential oil of choice (about 1 ounce, depending on which oils you choose)
- double boiler (large glass measuring cup)
- #4 wicks
- 4 oz wide mouth jelly jars
Directions:
- Add 12 ounces bees wax and 3 ounces of coconut oil (or other combination: see above) to double boiler and melt over medium heat. Heating the wax is easiest if you have a extra large glass measuring cup to use as a double boiler, or a wax heater (commonly found for hair removal, like this one.). Stir to make sure it is evenly heated and combined.
- Allow the wax to cool to around 190 degree Fahrenheit.
- Add essential oils for scent. The more beeswax you use, the more essential oils you’ll have to use.
- When wax is around 200-190 degrees, pour scented wax into a prepared container, leaving an inch of space at the top. Pouring too hot can cause bubbles. Pouring too cool can cause the wax to shrink away from the sides. Just leave a small amount in the pot or cup so that you can “top off” afterwards to fill any gaps that may occur.
- Allow candles to cool at room temperature. A slower cooling tends to less problems.
- Trim the wick to 1/4 inch above the wax.
Essential Oil Combinations for Candles
Of course you can choose your favorite scent combinations. These are your candles and you should put your own signature on them by adding your favorite scent or the favorite scent of the person you are giving them to.
Think of scents in categories: deep, woodsy, floral, light, citrus. These aren’t technical categories, but it’s how I organize scents in my mind. It’s a good idea to combine a deep scent with a light or citrus scent for stronger staying power. One will be the first you smell when the candle is burning, but the other will linger and give a base to your design.
Some great scents for the holidays or any days are:
- lavender and lemongrass
- patchouli and lavender
- cedarwood, fir, and lemon
- cinnamon, clove, and orange
- peppermint
- frankincense, myrrh, and orange
- For your health: cinnamon, clove, lemon, eucalyptus (not around some children)
- geranium and lemon
Have fun and be creative. Let me know how your project goes and what you’ve discovered works best for you!


3 Comments
Leave your reply.