

I’m a cold process girl. Probably because I’m a control freak and can’t stand the idea of not having ingredients that I’ve purposely chosen for my skin care routine. That being said, if you can find a good melt and pour source then it’s such a fun project to tackle.
If you have children and want them to value making something for themselves, but they are too young to work around lye, then making melt and pour is THE way to go!
If you want to be artistic and just want that time to create something fun, inspiring, or beautiful, and want it to be useful at the same time, then melt and pour is the way to go!
If you want to get started making soap, but want to familiarize yourself with the texture, adding color, scent, and pouring, but aren’t ready to make from scratch, then melt and pour is a great way to get started.
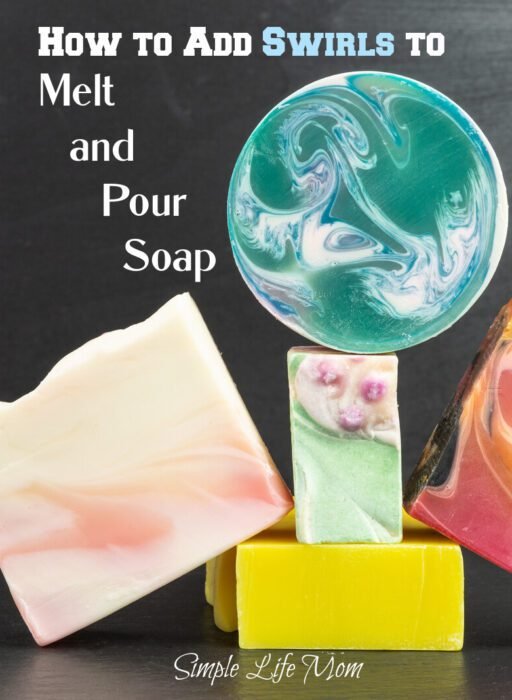
If you’ve never made melt and pour, but want to get started, check out my book Easy Soap Making by Kelly Cable.
I cover how to get started, how to swirl and layer, as well as give you recipes that get you started and build in difficulty from super easy to easy. There are also Soap Making Bonuses and a group to answer your Q&A! Get the Bonuses!
What is Melt and Pour and What to Look For
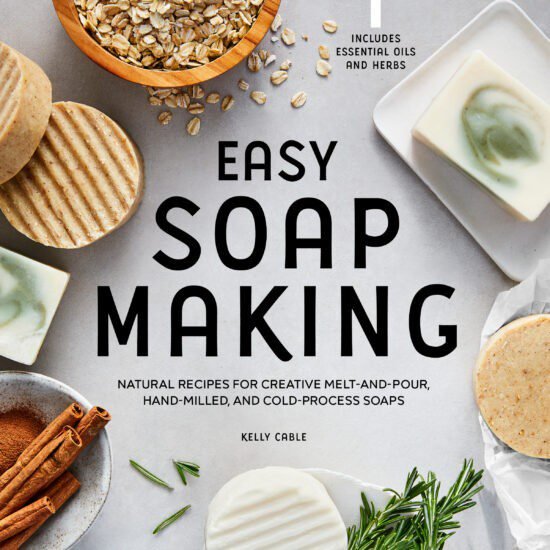
Melt and pour soap is when you take a soap block that has already been made by someone else and you add your artistic flare to it. Melt and pour blocks don’t have scent or color added to them, but all work with lye has already been completed so that you can just focus on the artistic side of things.
The problem is that if you are wanting to improve the ingredients you are putting on your body and trying to make better choices than what you can find on hand, finding a melt and pour block that doesn’t have a lot of unwanted ingredients is HARD! I searched and searched the internet and found two brands that had some blocks that were pure. Even those brands had other blocks that were full of junk though. You can’t just say, “I use _______ brand,” because you have to carefully read each ingredient and do your homework on what’s good or bad.
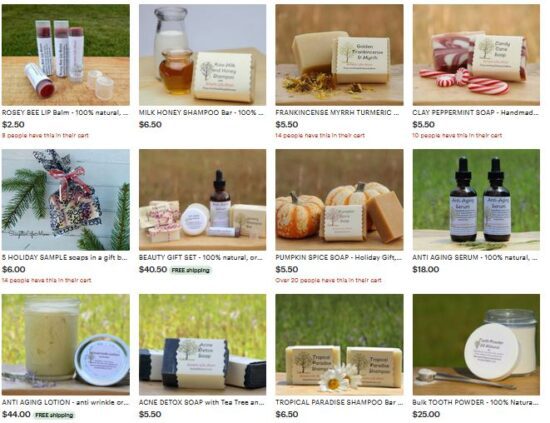
For this reason, I started offering a melt and pour block in my shop. It is vegan, pure, has added vegetable glycerin for a smoother melt, but has no preservatives or questionable ingredients added. It has wonderful oils and is superfatted at 8% so that you could use it for shampoo or a luxurious body bar! So, if you’re as picky as I am, check out the melt and pour block in my shop.
Swirling Melt and Pour Soap
When I say “Swirling melt and pour” I mean swirling a color into a clear or cream colored soap.
When swirling melt and pour soap you really just need to remember one thing: temperature! Temperature is very important to melt and pour because if the temperature is too cold, then the soap simply lays on top of the layer beneath. If it’s too hot it blends and spreads throughout the bar (also a pretty look). If you want to create crisp ribbons of color, then temperature is key.
You’ll need a food thermometer. It doesn’t have to be super fancy. A candy thermometer for a few bucks can work as well as a digital one like this.
Equipment Needed:
- food thermometer
- glass bowl
- rubber spatula
- large saucepan
- loaf mold (not an individual soap mold)
- scale
- knife
- plastic wrap (optional)
To melt the soap, you will need a saucepan filled 1/2 -3/4 full of water. You’ll create a double boiler by placing a glass bowl over the saucepan or using a large glass measuring cup.
A scale is needed to weigh the cut soap if you aren’t using the entire block. You’ll also use the scale to weigh essential oils added for scent.
Pretty simple. Just cut the soap block into 1″x1″ cubes and place in the glass measuring cup or bowl of the saucepan of water and melt soap over medium heat. Too hot and you will dry out the soap touching the sides. Stir often as it melts to prevent burn and create an even melt.
How to Swirl
Like I said above, temperature is key. Follow these instructions and you’ll have a beautifully swirled soap bar.
Prepare Mold
Prepare your mold by lining it with butcher paper or wax paper if needed (silicone molds do not need a liner, but take longer to cure before you’re able to remove the soap from the mold.
Add Color and Scent
When soap is fully melted, check the temperature. I think the ideal temperature for swirling soap is 125 degrees Fahrenheit, give or take 5 degrees.
- When it is 125-130F, add essential oil for scent and blend well.
- Remove from heat and divide soap. When swirling melt and pour you will alternate pouring two colors into the mold back and forth (white and green, white and pink, or pink and black, etc). Remove 1/3 of soap batch to another bowl. Place that new bowl over heat to keep heat up.
- Add colorant to one bowl (You can also color both bowls, but for this tutorial I will assume one is left white or cream colored). You can add all kinds of natural colorants. You have more herbal options in melt and pour. Since the saponification process is finished (the lye is all used up) you don’t have to deal with lye turning your herbs brown. Try herbs and clays like:
- matcha powder (green)
- activated charcoal powder (grey to black)
- Spirulina (green or blue spirulina)
- cocoa powder (brown)
- rose clay (pink to red)
- Moroccan clay (brown to orange depending on the clay)
- Bentonite clay (grey)
- Turmeric Powder (yellow)
- kaolin clay (white)
How much you add depends on how much soap you are working with and how bright you want the color. Some colors still mute after curing. For coloring 1lb of soap after dividing, add about 1 tablespoon of coloring powder and whisk well so there are no lumps. Add more or less, depending on desired color.
Check Temperatures and Pour
Once you have your soap scented and separated and colored, it’s time to check temperatures again. Know what you’re looking for ahead of time so that you can move fast if needed.
As I said, I think the ideal temperature for swirling soap is 125 degrees Fahrenheit, give or take 5 degrees. If it is still around this temperature, then you’re good to go. If one of the bowls cooled off too much during coloring, then place the bowl over the hot water again.
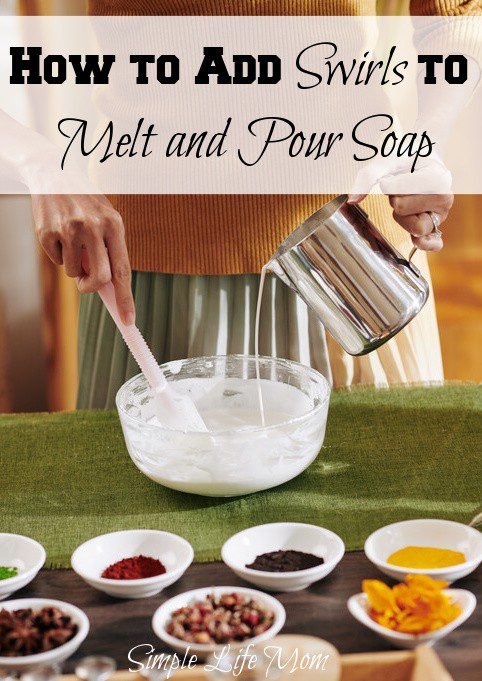
To swirl, pour a layer of the white soap back and forth into the mold. Set that down and pour the colored soap back and forth to create ribbons of color. Don’t pour too much before adding more white. Keep alternating back and forth. You’ll see ribbons of color form in the soap as you pour.
When all of the soap is poured, you may want to insert a chop stick or skewer and gently pull soap back and forth down the mold in the opposite direction you were pouring. Don’t stir too much or you will lose everything you just worked for. I don’t usually stir much at all after pouring, but kids definitely like adding a little extra swirl. Just tell them before hand that they can’t stir very much or you’ll lose the ribbons of color. Have fun!
Remember, if you swirl at hotter temperatures, the colors tend to blend more into each other and become a little muted. That’s still a beautiful look. Find your favorite look and go with it!
That’s it!
Simple is beautiful!
Let me know if you have questions or have a different method that you love.



2 comments
Leave your reply.