I’ve been wanting to tackle a glycerin soap recipe for some time now. Most recipes you find are for melt and pour. The problem with melt and pour is that you have no control over the ingredients. While melt and pour glycerin soaps are often better than a lot of other melt and pour soaps, they’re still not excellent. Plus, why not learn a new skill?
My daughter and a few friends have asked me to make “clear soap” here and there for a few years. I’ve just always been busy and didn’t feel like tackling something like that at the time. Little did I know that it’s actually a simple process.
Making glycerin soap from scratch is really just like hot processing soap with an extra step. That’s it!
So let’s dive right in!
Glycerin in Soap
Glycerin is SO good for your skin. One of the reasons I love handmade soap is because it still has all of its glycerin. No glycerin is removed for other purposes like what often happens in store bought soap.
Glycerin is actually a by-product (if you want to call it that) of the saponification process. When you combine oil and lye water, soap is made, but glycerin is as well (called glycerol).
Benefits of Glycerin
Glycerin is a humectant. Meaning, it holds in moisture. In a soap, this is great, because it helps to hold moisture next to the skin, making the soap moisturizing as it cleanses. Your skin is left feeling smooth and soft instead of stripped by the soap.
Like I said, soap naturally has glycerin that is created during the process. When you make glycerin soap, you add a little more glycerin and process the whole soap batch in a way that it is clearer than usual.
In the end, you have a bubbly, beautiful soap that is more or less transparent, depending on the ingredients added and process followed.
Making Glycerin Soap from Scratch
Sugar, combined with added glycerin and alcohol, will come together to make the soap clear.
Sugar can be added to any soap recipe to help boost the lather. Sugar is usually added to the water before lye is added. Stir and dissolve and you’re ready to go. That’s the easy cold process soap method.
In glycerin soap, the sugar, glycerin, and alcohol are added to help clarify the soap.
The process is relatively simple.
The Steps with Pictures:
Combine oils in a crockpot and heat on low.
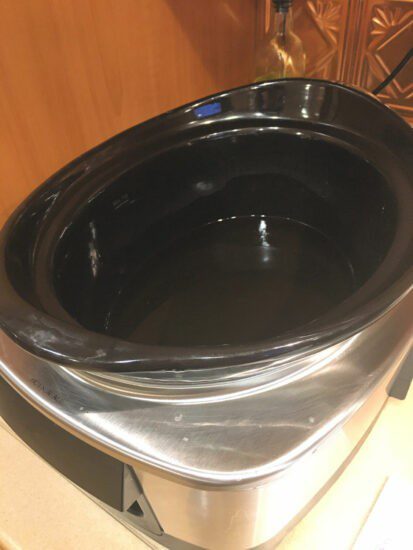
While outside, add lye to the water and allow to cool slightly.
Pour lye water into the crockpot and blend with a stick blender until light trace (it starts to thicken light pudding). Be careful to not splash yourself with the soap, since the soap may be shallow in the crockpot.
Cover and seal with plastic wrap and allow to gel.
The soap will churn and change color, becoming more puffy and translucent.
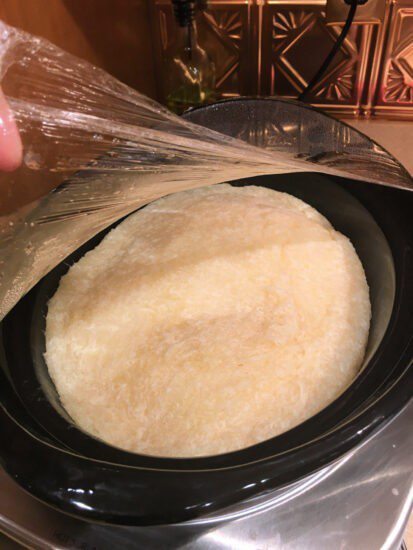
Once fully at gel phase, add the alcohol (NOT rubbing alcohol!) and glycerin and stir with a stick blender again. It may be chunky at first, but it will become smooth eventually. Again, be careful of splashes.
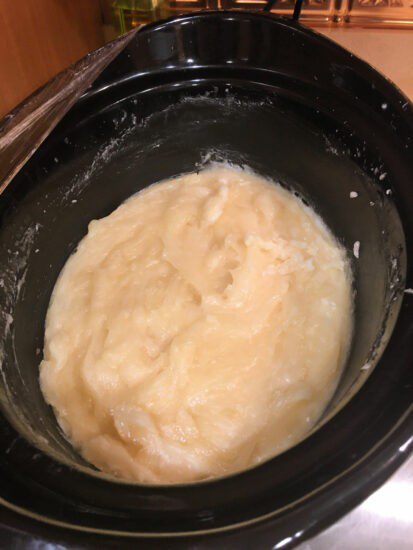
Do not cover again with plastic wrap. Allow to sit uncovered on low for around 1-2 hour.
While alcohol and glycerin are working, melt sugar in water over the stove on medium-low heat. Remove from heat.
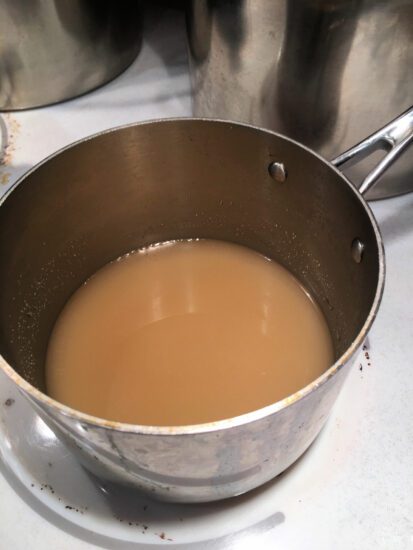
After alcohol and glycerin have been working for around 2 hour, add sugar water and stir. Cover again and let air bubbles work their way out while the mixture is still hot.
Scoop pieces off of the top of the soap.
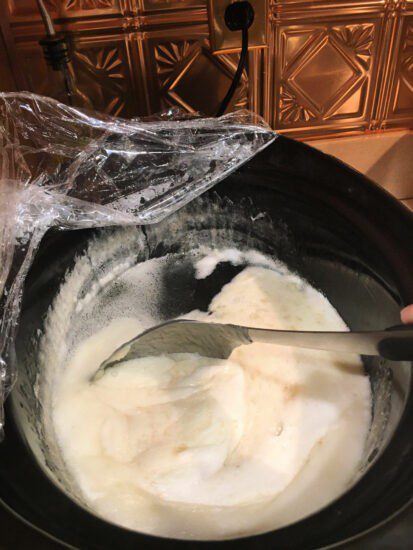
If you’d like to test for transparency and hardness, take a spoonful out and place in a cup in the freezer. It’ll set up quickly and you’ll be able to tell if it’s going to be clear or not and if enough water has evaporated for it to be hard.
If not, let it cook uncovered in the crockpot for longer. You’ll notice that it keeps forming a thin layer over the top. That’s ok. It will continue to do so. Just work on getting the foam off the top.
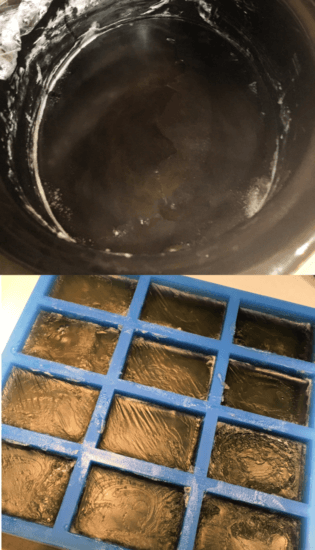
Pour into mold. Air bubbles will continue to work out of the soap for the next week. You can use as soon as it cools and hardens, or allow to sit and become more transparent after a week or two.
Glycerin Soap Recipe
Makes 12 four ounce bars with 1% superfat. More suprfat content can cause cloudiness.
Glycerin Soap Recipe from Scratch
Equipment
- 1 plastic wrap
Ingredients
Part 1
- 10 ounces coconut oil
- 8 ounces olive oil
- 8 ounces castor oil
- 7 ounces sweet almond oil
- 4.8 ounces lye
- 8 ounces Water
Part 2
- 11 ounces Alcohol , vodka or other 70% proof is good
- 6 ounces glycerin
Part 3
- ½ cup Sugar
- 1 cup Water
- 1 ounce Essential oil of choice
Instructions
- Combine oils in a crockpot and heat on low.10 ounces coconut oil, 8 ounces olive oil, 8 ounces castor oil, 7 ounces sweet almond oil
- While outside, add lye to the water and allow to cool slightly.8 ounces Water, 4.8 ounces lye
- Pour lye water into the crockpot and blend with a stick blender until light trace (it starts to thicken light pudding). Be careful to not splash yourself with the soap, since the soap may be shallow in the crockpot.
- Cover and seal with plastic wrap and allow to gel. The soap will churn and change color, becoming more translucent.
- Once fully at gel phase, add the alcohol and glycerin and stir with a stick blender again. It may be chunky at first, but it will become smooth eventually. Again, be careful of splashes.11 ounces Alcohol, 6 ounces glycerin
- Leave uncovered and allow to sit around 2 hours.
- While alcohol and glycerin are working, melt sugar in water over the stove on medium heat. Remove from heat.1/2 cup Sugar, 1 cup Water
- After alcohol and glycerin have been working for around 2 hours, add sugar water and stir. Let air bubbles work their way out while the mixture is still hot.
- Scoop pieces off of the top of the soap.
- If you’d like to test for transparency, take a spoonful out and place in a glass in the freezer. It’ll set up quickly and you’ll be able to tell if it’s going to be clear or not. If not, let it cook uncovered in the crockpot for longer.
- Add essential oil and stir.1 ounce Essential oil of choice
- Pour into mold. Air bubbles will continue to work out of the soap for the next week.
- Unmold after hard enough to do so. This sometimes takes 2-3 days.
It can often take a few days for it to harden. I can’t remove mine out of my silicone mold for 2-3 days without wrecking how it looks. It eventually gets hard, and this recipe has a low and creamy bubble.




82 Comments
Leave your reply.