You can learn how to make you own liquid hand soap in just a few easy steps. It’s an easy thing to make and has a lot of advantages. For starters, it’s very frugal!
I make my own soap (For recipes, go here.), so there is very little cost to using two to three bars to make liquid soap. It actually ends up being tons cheaper than buying it from the store, and it puts you in charge of the ingredients.
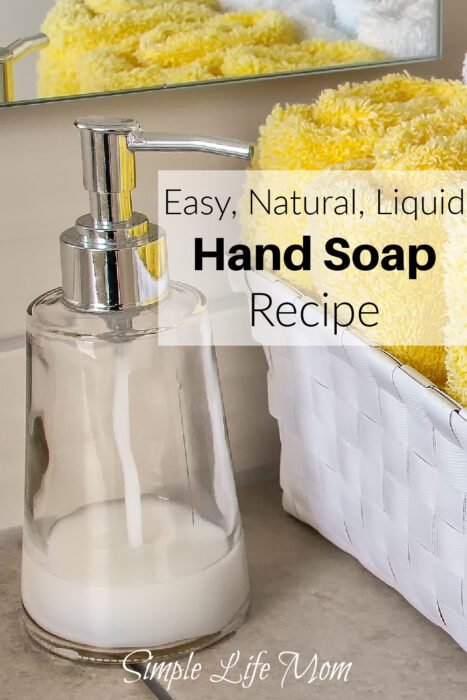
It’s also super easy to make on your own.
In order to add scent, you can add essential oils to the batch, or add a few drops after pouring the soap into your dispenser so that you can change the scent each time. You can also add antibacterial essential oils to give your soap an extra punch.
Find a list of antibacterial essential oils here.
It’s also a wonderful thing to have with little kids.
It’s a luxury that I like, because it seems to be cleaner than the dirty soap bars that I find sitting in the sink (if you have little kids you’ll know what I mean).
DIY Liquid Hand Soap
This soap recipe is very simple. And you only need two ingredients! There’s a little freeze and thaw method I use to make it the perfect creamy thickness. If you’ve tried to make your own liquid soap before and it ended up being too thin or thick, then try this method.
This recipe makes one gallon. You can divide it in half if needed.
Liquid Hand Soap
Equipment
Ingredients
- 1 gallon water
- 3 bars soap
Instructions
- Put one gallon of water in a large stainless steel pot and turn on to medium heat.
- Grate 3 bars of natural soap into the water. Stir until melted and remove the pot from the heat.
- Allow soap to cool and then pour it into a large glass bowl or other container with a lid. Place in the freezer. Leave it in the freezer until it starts to freeze. If you leave it too long and it freezes solid, just leave it out until it thaws.
- Blend with a stick blender. Cover and let it sit at room temperature for 24 hours. Blend one more time and then store in a sealed container until ready to use. Use within 8 weeks for freshness.
Notes
Tips to Making Great Liquid Hand Soap
The first thing I learned when trying to make liquid hand soap is to not use Castile (olive oil) soap bars. The reason for this is that Castile soap is extremely soft and will make a very watery hand soap. That is fine, but most people like to have a hand soap that’s a bit thicker. .
Second, you can use less soap bars. It will be thinner, but will still be effective. I like to use three bars for a creamy hand soap.
Third, liquid hand soap typically bonds back together over time. You may start with a watery thickness, then it will turn into the perfect thickness, only to finally end up in a thick blob. This process will happen faster with temperature differences. The nest thing to do is to cause it. Follow the directions in the recipe to cause the binding to occur so that you can break the bonds again. The soap molecules may bond together again over time and you’ll need to use a stick blender to mix it again, but it will stay at a good consistency for 4-6 weeks at least.
Fourth, homemade liquid hand soap does go bad. When making beauty or bath products, any product that has water added to it tends to last less than pure oil products. If you smell a dusty scent to it, this is it starting to go bad. Make as much as you will use in two months for the freshest hand soap. I’ve had soap last longer than that (3-4 months), but you can use the two months rule as a plan for how much to make.
Want to make a larger bath or want it to last longer? Put what you are not using in the freezer. It will last indefinitely when frozen.




52 Comments
Leave your reply.