A lot of people like to make hot process soap, because they know it will be ready to use as soon as it cools. It’s a great way to get kids involved, and a quick way to get your family natural soap to use right now.
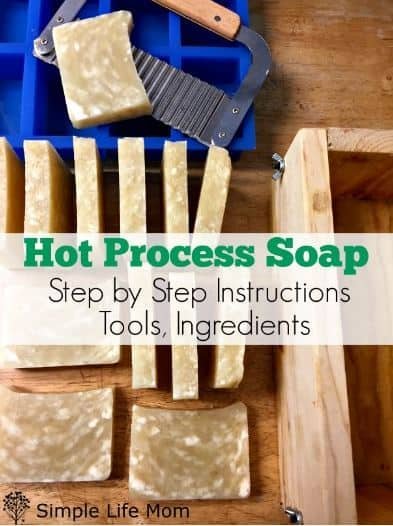
Hot Process Soap Making Tools
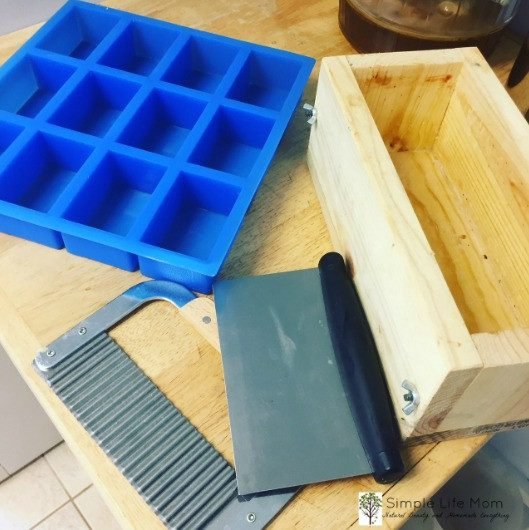
Hot process soap making uses a lot of the same tools that you would use for cold processing soap and then a few more:
- Crock Pot or Slow Cooker
- Stick Blender
- Safety Equipment:
- gloves
- safety glasses
- long sleeves
- charcoal mask
- Plastic bowl for lye water
- Large spoon
- Plastic wrap
- Scale
- Bowls to weigh ingredients
- Mold
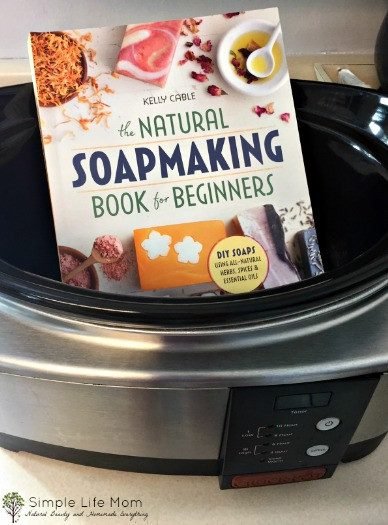
The slow cooker that you use needs to have a very low setting. If you don’t have a slow cooker you can use the stove top and a stainless steel pot, but often that burner will get too hot, even on the lowest setting so be careful.
Need a recipe? My book Natural Soapmaking Book for Beginners has a few hot process soap recipes, but you’ll find you can use any cold process soap recipe and make it using the hot process method. Some of the stylizing techniques will be different, but the recipe itself doesn’t change.
I use a plastic bowl dedicated to making lye water, because glass holds in heat and will cause your lye water to take a lot longer to cool.
Hot Process Soap Making Ingredients
You can separate your ingredients into 3 categories:
- Bulk Oils
- Lye and Water
- Additives (essential oils, herbs, exfoliants)
Bulk Oils (and butters) are the oils that will be converted into soap molecules by the lye. Great skin care oils to use in soap making are: olive oil, coconut oil, sweet almond oil, apricot kernel oil, avocado oil, cocoa butter, shea butter, jojoba and bees wax, and more. To learn more about what each of these oils bring to a soap recipe read this: Soap Making Oils and Their Properties
Lye is a caustic base that is neutralized while helping transform the oil into soap molecules. Without lye you can not make soap! Those who tell you differently are probably trying to fool you by pushing melt and pour soap. Melt and pour needs lye during the earlier process as well. Respect that lye can burn your skin, but is not something to be afraid of. Chances are you’ve used toilet cleaner that can burn your skin too, but you weren’t afraid of it. See the safety procedures below.
Additives should always be natural and healthy. I only use essential oils for scent (for more on the dangers of fragrance oils click here.) You can make so many beautiful colors and scents while only using healthy ingredients. There’s no need to compromise here!
Some great resources for coloring soap naturally:
Essential Oils: I like to use Mountain Rose Herbs essential oils, as well as Starwest Botanical. If you’re on a small budget, try Bulk Apothecary Organics or Plant Therapy.
Great Exfoliants: ground oats, coffee grounds
Other Additions: Yogurt (for smoother hot process soap), honey (for more bubbly soap), clays, charcoal
Hot Process Soap Making Steps
- Weigh and combine oils in slow cooker.
- Mix lye into water and allow to cool.
- Add lye-water to oils and mix until trace.
- Cover and don’t touch until processed.
- Add Additives
- Scoop into mold and cool.
There you go! 6 Steps! I will elaborate on each step to make sure you get all the cool tips and tricks I’ve learned over the years.
Step 1: Weigh and combine oils in slow cooker
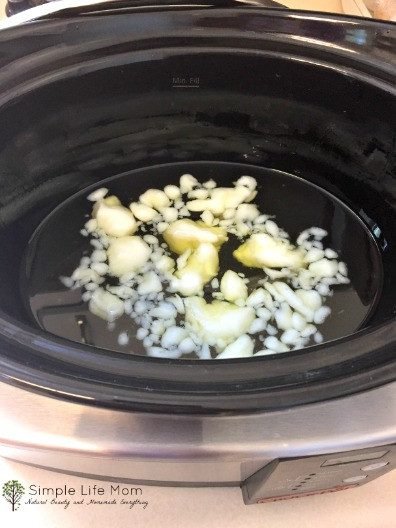
Using a scale that shows tenths (e.g. 4.1 oz), weigh your bulk oil ingredients and pour them into your slow cooker. Do not add the lye, water, or other additives like essential oils and herbs yet.
Turn your slow cooker on and allow the oils to warm and melt. I like to melt beeswax and cocoa butter over low heat on the stove first to cut down on time.
Step 2: Mix lye into water and allow to cool
Use safety equipment for weighing and mixing lye with the water.
Weigh lye in a zip close bag and set aside. I like to use a baggie so that remember to pour lye into water and not water into lye, plus I can just throw it away after use. But you can use a small container.
Weigh cold filtered water in a container and set aside. By making sure the water is cold you will shorten the cooling time.
Go outside and, while wearing gloves, glasses, and mask, add lye to water and stir with a large spoon until lye crystals are dissolved. After adding lye to the water, the lye water temperature will rise up to 170 degrees and put off fumes for about 30 seconds to a minute. This is why you need a charcoal mask. A paper mask will not hold out the fumes. I’m also known for holding my breath until the crystals are dissolved and then running away.
Allow the lye water to cool to around 100 degrees, just like your oils. This isn’t as important when hot processing, but cold processing habits die hard and I like the rate at which the soap comes to trace at this temperature.
Step 3: Add lye-water to oils and mix until trace
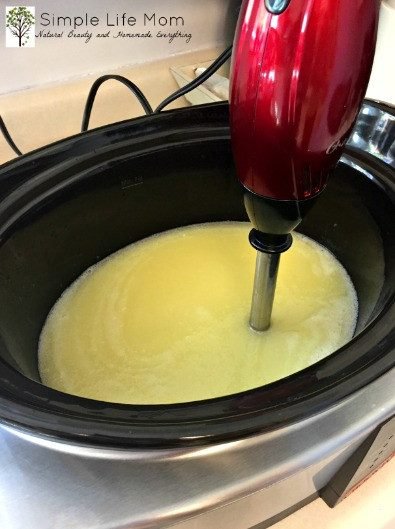
When temperatures of oils and lye water are both around 100 degrees, carefully add lye water to oils and blend with a stick blender until medium trace.
The word “trace” seems to come from the trace of a line that is left behind when drizzling soap over the batch with a spoon. If too thin, it just sinks into the batch. When it starts to thicken, it leaves a trace or a line as you drizzle it. Medium trace is when it starts to thicken to about ketchup consistency. Light trace is like pancake batter, while thick trace is more like yogurt.
Step 4: Cover and don’t touch until processed
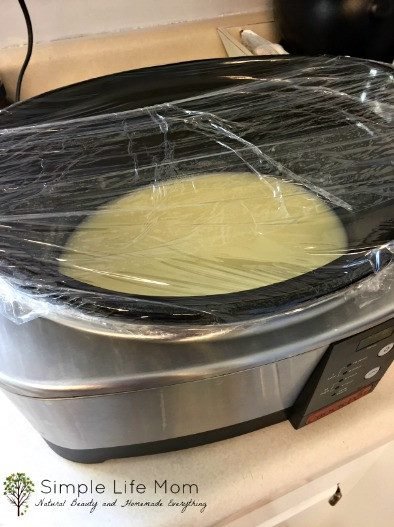
Once your soap has come to trace, cover it with plastic wrap and leave it alone. Sealing it will keep moisture loss at a minimum. The more moisture lost, the more like a cracked desert your soap will look like when it’s done.
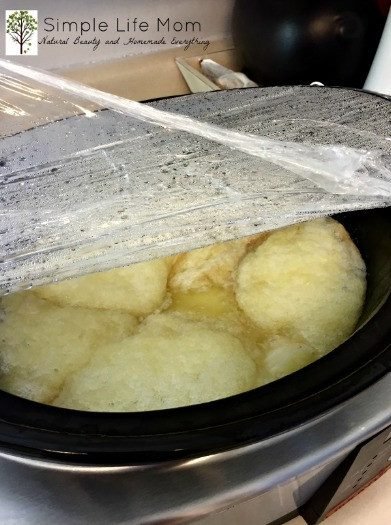
It will begin to bubble and change color and texture, usually from the outside in. You want it to change all the way through the middle (looking somewhat like mashed potatoes). When it is fully transformed, you’re ready to turn off the heat and move on.
*NOTE* You may end up with white specks or chunks in your soap. This is from your soap heating too quickly. I love this marbled look in a solid colored soap, but if you’re adding layers or simply want to avoid this look, you must find a slow cooker that has a low enough heat.
Step 5: Add Additives
Adding more water to your soap at this point will not make it less crackly looking. Water will just make it softer and make curing time longer. Instead, if you are worried that it is drying out, add one Tablespoon of yogurt per pound of soap you are making.
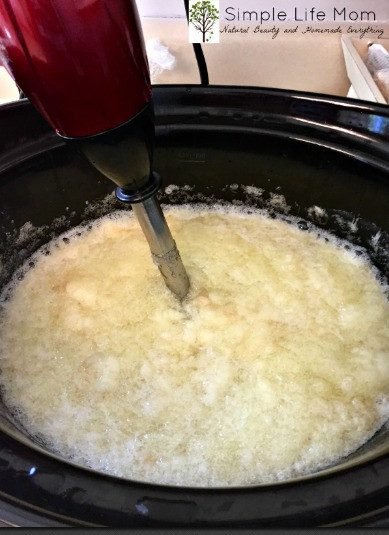
Now is when you can add honey (1 teaspoon per pound of soap), essential oils (0.25-0.5 ounce per pound of soap), clays, exfoliants, coloring herbs, etc.
Add them quickly and blend.
Step 6: Scoop into mold and cool
Once your soap is processed and you’ve mixed in any additives, you’re ready to scoop into your mold.
Most molds need to be lined. Make sure it is prepared and ready. Scoop into the mold and pat down with a greased spoon to make sure there aren’t any bubbles. Flatten or design the top with swirls and allow to cool.
Cover with parchment paper to avoid ash forming on top.
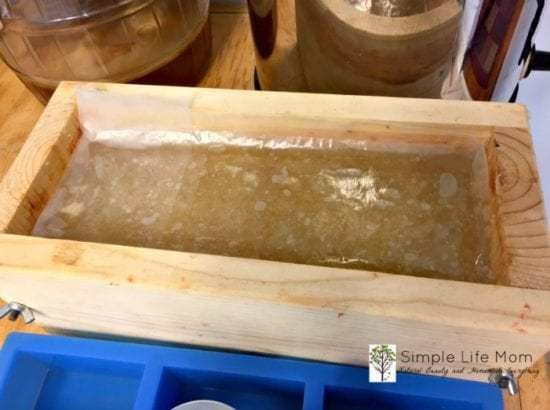
Cut cooled soap when it is hard enough. Allow to continue to harden. When it has reached the desired hardness it’s ready to use!
If you have any questions or comments about your favorite way to make hot process soap, please leave a comment below.
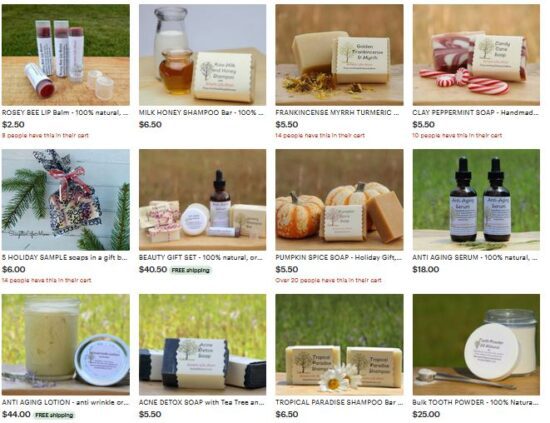
Remember, you can always find cold process soap recipes HERE and try many of the recipes in my shop.



30 Comments
Leave your reply.