This is a project that I’ve been working on for about a year now: how to make a melt and pour base recipe from scratch with only pure and healthy ingredients.
I’ve been tweaking the recipe, not wanting to just say, “This is as good as it gets.” But wanting to improve the end texture and experience so that more people around the world can make melt and pour soap with healthy ingredients only – No compromises!
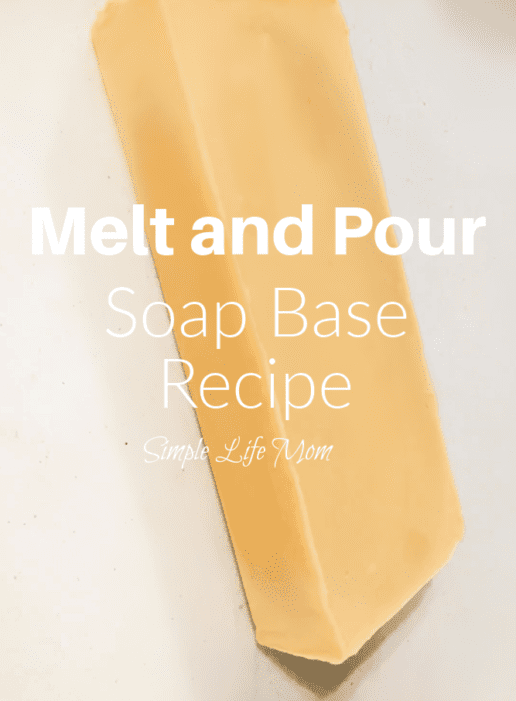
What is Melt and Pour Soap?
Melt and pour soap is a soap base that is ready made for you (See this one in my shop). These soap bases are purchased at craft stores or online so that crafters can start a new project without having to make soap from scratch.
I think melt and pour soap bases are a great way for people to get started easily and more simply into soap making. After all, you will familiarize yourself with soap textures, adding scents, and adding color to soap. It’s something that can be done around children and pets more easily, because you don’t have to worry about lye water sitting and cooling in an off limits zone outside or in your garage. Instead, the soap block is ready made for you.
To use a melt and pour base, a crafter will cut it into small squares and place them in a glass bowl. They will then either microwave the soap in short bursts, or place the bowl over a double boiler to melt the soap to a more liquid form.
Once the soap is more toward a liquid form, you can add essential oils and other additions (not too much because the soap is already made for you) and coloring and pour the melted soap into cute soap molds like these or these.
It’s that simple: melt, then pour.
So, why would I offer a melt and pour base recipe?
Typical Melt and Pour Bases for Sale
I’m offering my own melt and pour recipe for two reasons. First, a lot of you who use my website have your own shops. I’ve had friends tell me, you have a shop! Why give away your recipes! Because I want people to learn. And also, people who want to make, will make. And people who want to buy, will buy. I love to encourage people to make their own soaps and help others to as well.
Plus, I’ve made a lot of connections and am grateful when people give proper credit.
But most importantly, if you have used melt and pour soap bases and read the instructions, you know that they are ALL full of junk!
When I first started looking into it, I thought surely I could find some melt and pour soap bases out there that didn’t have toxic or at least questionable ingredients. Nope! A lot of them, most of them, have ingredients that are banned in other countries due to their toxic nature.
There’s a reason for this. In order to get soap to melt to a liquid state that is easy to pour and manipulate, you need to add some questionable ingredients.
Well, you know I’m not about to do that.
Changes to the Melt and Pour Base
My melt and pour soap base recipe is thicker. I have tried a number of methods to naturally get the soap to melt to a thinner consistency. I have not found a way yet.
The desire is for a thin enough consistency that can be manipulated, as well as a soap base that will cool and harden in a pretty way.
For this to happen, you need to use creamier oils and more glycerin. Glycerin really is the key.
I’ve managed to create a soap base that is made with only 100% natural, pure, and healthy ingredients that will melt to a thinner scoopable if not pourable consistency, that cools to a pretty, hard bar.
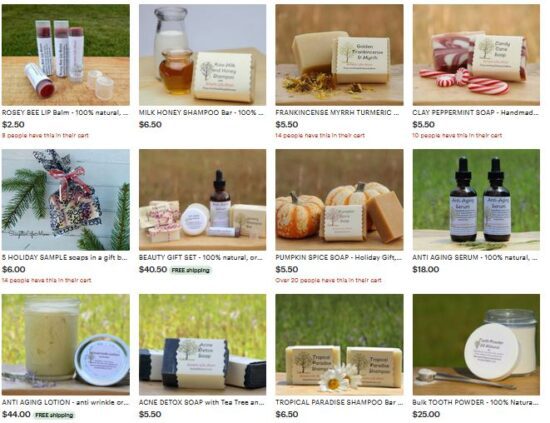
You can find the base in my shop if you’d like to try it out there first. You can also read the reviews.
You’ll notice that some people don’t follow my instructions and have a harder time manipulating it. So check out the instructions very carefully below. If followed properly (just one or two extra steps and pointers) it’s a great melt and pour base. And a base that you KNOW is 100% healthy.
My Melt and Pour Base Recipe
This recipe has a 5% Superfat and makes 2 pounds of soap base.
You’ll need to cold process this soap recipe before you can use it as a soap base later on. It can be used after a few days. It does not need the weeks to harden. For more detailed cold process soap making instructions see the article, Step by Step Soap Making, or The Natural Soap Making Book for Beginners.
Melt and Pour Soap Base
Equipment
Ingredients
- 6 ounces olive oil
- 6 ounces coconut oil
- 3 ounces sweet almond oil
- 3 ounces apricot kernel oil
- 2 ounces avocado oil
- 2 ounces shea butter
- 2 ounces castor oil
- 5 ounces glycerin
- 6 ounces water
- 3.4 ounces lye
Instructions
- Combine olive oil, coconut oil, sweet almond oil, apricot kernel oil, avocado oil, shea butter, and castor oil in a large stainless steel pot over medium heat to melt the coconut oil. Cool to around 80 degrees Fahrenheit.
- Wearing protective gloves, goggles, and mask, take the lye and water outside and pour the lye into the water. Stir until it is dissolved. Allow to cool to around 80 degrees Fahrenheit.
- Add glycerin to oils.
- Add lye water to oils and blend with stick blender until light trace.
- Pour soap into a 2lb mold and cover with towels to insulate for 24 hours.
Notes
How to Use my Melt and Pour Base
I give the difference between cold process and melt and pour here (You can also get a recipe). You can also learn how to swirl melt and pour soap, or how to add layers.
To use this melt and pour soap base, cut the soap into small cubes as you would any soap base.
I prefer the stove top or slow cooker method, because it’s very easy to scald the soap in the microwave. But if you’re having problems getting the soap to melt, you can try the microwave carefully.
Stove Top or slow cooker:
For stove top, create a double boiler by placing a saucepan of water over medium heat. Place a glass bowl or large glass measuring cup over water.
Cut the soap into small squares or shred it with a cheese grater and place the soap in a glass bowl.
Cover the bowl in plastic wrap as it melts. This is very important, because when it loses too much moisture it will not have the right consistency or cool as nicely as it would otherwise.
If it is too thick and more like mashed potatoes than pourable soap, add one teaspoon of oil for each pound of soap and stir. Blend with a stick blender and re-cover the soap (watch for hot splashes). This oil can be part of the additions you wanted to add. For example if you wanted to add rosehip oil or goat’s milk, this would be the time.
After it is melted, add scent and coloring if desired. Mix well and then pour the soap into your prepared mold.
Use can use the same method with a slow cooker, making sure to cover the top in plastic wrap to keep in the moisture.
Microwave:
Only melt 1 pound at a time. You’ll need to divide the soap base in half. Cut that half into small cubes and place them in a glass bowl.
Melt in the microwave in 30 second bursts, stirring in-between. If it seems to thick, add a teaspoon of oil per pound of soap that you are using. You can also use water or milk. You’ll need to use a stick blender to blend the soap. Be careful of hot splashes.
When melted, add scent and color if desired and pour into a prepared mold.
Repeat with the other half of the soap if desired.
Leave a comment below about what your favorite melt and pour scent or addition!


24 Comments
Leave your reply.