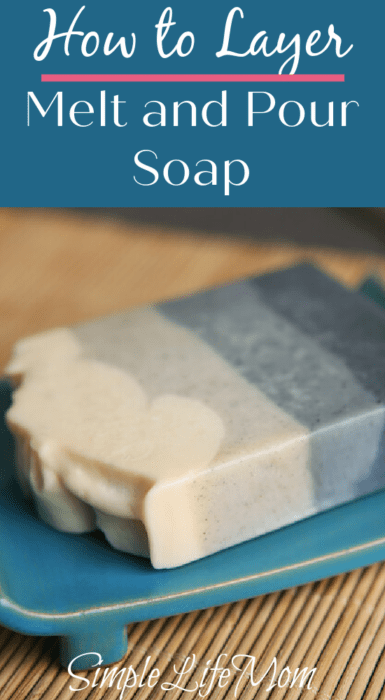
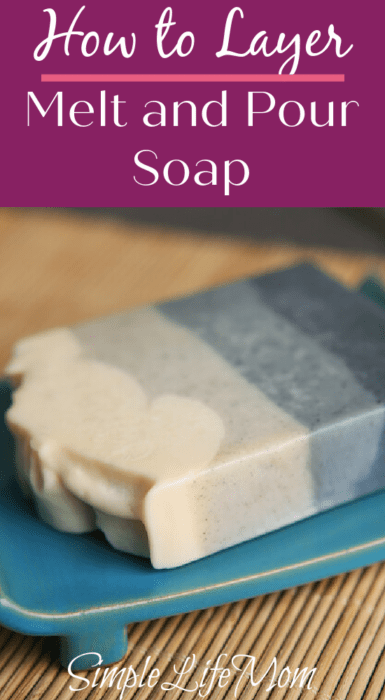
Melt and pour soap is a fun project for almost all ages. Plus, it can be ready to use as soon as it hardens. Adding designs and layering melt and pour soap adds that creative touch.
Though my favorite type of soap making process is cold process, I think each soap making process and crafting definitely has its place.

Melt and Pour is a great introduction into the soap making process. It allows the crafter to get their hands on soap, see how it melts, add coloring and scent, and scoop and pour into molds of all shapes and sizes.
You can use all types of molds:
- silicone
- wood
- plastic
- loaf shape
- rectangle cake shape with inserts
- individual rectangle shaped
- individual shapes of any kind: animals, flowers, square with bee impressions, and so much more!
Best Molds for Layering Melt and Pour Soap
Melt and Pour soap can be poured into any molds that you use for cold or hot process. The reverse is also true. If you’ve just made melt and pour soap, you can always switch to other processes without having to buy any new soap molds.
That being said, it’s easier to create certain effects when you have particular molds.
Open molds that do not have dividers (loaf molds, rectangular cake shape molds) make it easier to layer and swirl colors. You can definitely use sectional soap molds for swirl and layering (depending on the desired end result), but a large open mold is much better for beginners.
I use a large, wide, rectangular shaped molds for almost all of my soaps now. I can swirl in circles, zigzags, stripes, and more complex swirls (They all have names, but you get the idea.) more easily than if I had sectioned molds. It’s a much larger area, and you can pull the colors from one corner or end of the mold to the next without having to pull up the dowel rod as often. It makes for a prettier finish. I then push down my divider inserts into the mold and am done. Simple.
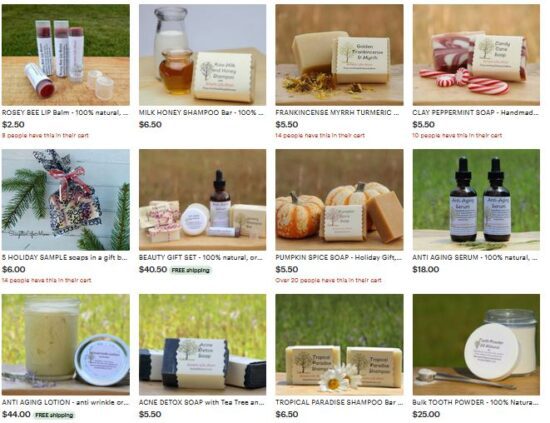
Melt and Pour is often purchased in 1,2, and 5 pounds. I sell 2 pounds (technically it’s 2-1/4 pounds) in my shop. Because of the size, it will be best if you use a 2-3 pound loaf mold to make your layers.
Buying Melt and Pour Soap
The reason I now sell a natural version of Melt and Pour soap in my shop is because it is VERY difficult to find melt and pour soap that’s not trash that I would not put anywhere near my body.
There are definitely better ones out there, but none that are just pure soap with extra glycerin to help it melt more easily. Mine does not melt to liquid. It gets very soft, and you’re able to add color and scent and layer very nicely, but it won’t become completely liquid without ingredients that I do not believe are healthy.
So be very careful. Do your research. What is that extra ingredient and why is it in there?
Titanium dioxide makes soap whiter and is also in sunscreen, but it has small enough particles that can cross into the blood and is carcinogenic.
Sorbitan Oleate is in there as an emulsifier, but has a tiny amount of arsenic and lead from the processing. Other brands contain a lot of preservatives. Some are better than others., so do your research.
If you want something that’s completely pure, then check out my melt and pour soap in my shop.
Colors for Melt and Pour Soap Layers
Colors added to cold process or hot process soap can also be added to melt and pour soap.
Don’t ruin a natural soap base by adding toxic soap coloring blocks. A lot of places sell them now, but you may as well use marker ink.
If you want to learn how to color soap naturally, check out Adding Color to Homemade Soap and Color Soap Naturally with Herbs and Clays.
You can use things you have in your kitchen like cinnamon or turmeric.
I most often use:
- Rose clay for pink and red
- Orange Moroccan clay for orange
- Spirulina for green
- Activated charcoal for greys and black
- Alkanet root powder for purple
There are a lot more that you can find on the articles listed above or in my books: Easy Soap Making and The Natural Soap Making Book for Beginners.
Temperature and Touch for Layering Soap
Temperatures effect swirls the most with melt and pour soap. It’s also important with layering, but instead of using a thermometer to take the temperature of soap when layering, you can use movement and touch.
If the soap is too hot, the second layer will sink down into the first. This will make a beautiful ripple within the soap if that’s what you are looking for, but it won’t create a clean layer.
If soap hardens completely before you add the second layer, then the second layer may not adhere to the first. No one wants to cut their soap block only to have one layer fall off of the other. But there’s an easy trick!
Layering with cold and hot process is a race against hardening and working quickly. Melt and Pour is more relaxed.

How to Layer Melt and Pour Soap
The steps are very simple. You’ll get the hang of it very quickly and it won’t even be a thought after layering soap a few times. Have fun and let me know if you have questions.
Melt
Melt soap over medium heat in a double boiler. While it is melting, prepare your mold by lining it with wax paper if needed.
Mix and Divide
After the soap is melted, add the scent that you have decided on and mix well. This is when you’ll divide the soap into the amount of layers that you desire. Divide the soap into warm bowls and whisk color into each bowl as needed.
Layer
When you have your bowls of colored soap, pour the first layer into the prepared mold. Knock the mold a few times on the tabletop so that air bubbles are worked out and the soap is flattened in the mold.
Cool
Let the first layer cool until you can touch the top and it feels firm (but not hardened). You wiggle the mold a little bit and it will jiggle, but definitely seem thick and not liquid or hard.
Spray
Spray the first layer with rubbing alcohol. You don’t need much, just a little mist. This will make sure the second layer sticks to the first.
Repeat Layer
Gently pour the second layer onto the first. If it is too hard, put it over the double boiler again. You don’t want it to be so hot that it “melts” the bottom layer, but that shouldn’t be a problem. Just heat it until you’re able to scoop or pour it into the mold.
With cold process layers I often need to place a spatula in the middle of the pour to help it land more gently onto the first layer, but since you’re able to let the soap harden a little more with melt and pour you shouldn’t have to use a spatula.
Repeat the layering process until you have poured all the layers that you have planned and let the whole block cool until it is hard.
Quick Summary
To put it quickly:
Make sure to let the first layer start to harden, but don’t wait until it’s super hard, just hard enough to resist to the touch.
Spray the first layer with rubbing alcohol and it will help the second layer to stick to the first. You don’t have to do this, but it does help, especially if you are using a glycerin base.
Carefully pour the second layer on top of the first. Repeat the process for more layers.


11 Comments
Leave your reply.