It’s time to make maple syrup again! Growing up, I always wanted to make my own maple syrup.
I wondered why I never tried before, but then I realized that until recently, the only time I owned property with trees was when my children were little. And having children months apart doesn’t always leave room for extra ventures.

They say it takes 10 years to get fully established on a farm. I believe it, because after moving to our home now, we spent time getting animals and gardens sorted out, plus everything else that seemed to come up over the past few years. I’m just now getting to the point where I even thought about making maple syrup. It’s been an exciting adventure for me over the past few years.
What Trees Can be Tapped to Make Maple Syrup
A number of different types of trees can be tapped for syrup, not just maples.
Some trees have more sugar content than others. Once you start tapping trees, you’ll realize that it takes a lot of sap to make a little bit of syrup. A full gallon of watery sap from the tree may make 8 ounces of syrup if you’re lucky. So the type of tree matters.
The four maple trees, in order of the amount of sugar (and thus, more syrup) that they will provide, starting with the most, are: sugar maple, black maple, red maple, and silver maple. All four types of maple trees can be tapped, but some will provide more sugar in their sap than the others.
Other trees that can be tapped are other types of maples like the big leaf maple and box elder, as well as birch trees, black walnut trees, and sycamore trees. These give less sugar than the sugar and black maples, but can definitely be utilized if that’s all that you have in your yard.
Tree Size
Tree size is important as well. You want to remove sap, while also not taking away from the tree’s ability to thrive so it can keep producing.
Take a flexible measuring tape out and wrap it around the trees you want to use.
The general rule is to use only:
- One tap on trees that are 12-20 inches in diameter.
- Two taps can be used on a tree 21-27 inches in diameter.
- Three taps on trees above 27 inches in diameter.
When is the Best Time to Tap Trees
The quick answer to when to tap trees is January-March.
This will vary depending on where you live. You want the temperature to be below freezing at night, but above freezing during the day. The bigger temperature difference between night and day, the more sap will flow.
You actually can tap trees in the Fall as well. After all, there will also be a time frame when temperatures are above freezing during the day and below freezing at night. That can happen here in Pennsylvania in November and December.
The problem with Fall tapping, is that the sugar content is a lot lower and you should not tap the same trees in the Spring. If you are a new tapper, have another set of trees you can tap in the spring, and just can’t wait to get started, then give it a try. I’ve read that some large maple farmers have experimented with tapping in the Fall and though they get a lot of syrup, it’s not nearly as much as what they are used to and significantly lowers their yield. But there’s no reason small home owners can’t give it a try.

What Equipment is Needed
You can either go all out and get high tech equipment, or use the bare minimum. Speaking from my experience of using the bare minimum, I really wish I had purchased a few special items before starting.
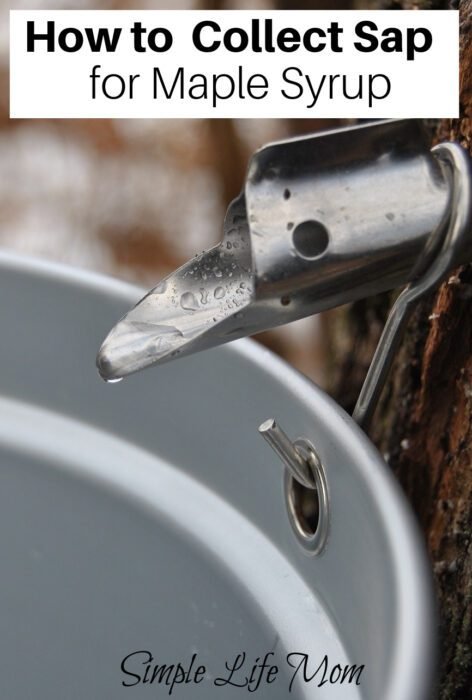
I started with purchasing stainless steel 5/16th spiles like these. That’s it.
I used 5 gallon buckets that I already had on hand and balanced the lid from the bucket up onto the spile. The lids constantly got blown off, so I tried using duct tape to keep them on the spile and the bucket. That helped keep them in place, but only a little wind would still close the lid and I’d have valuable sap flowing onto the ground. Without a lid, all kinds of bugs, sticks, and leaves would fall into the sap. That’s not that big of a deal since you will strain and then heat the sap (at least it didn’t bother me much), but there’s a limit as to how many bugs in the sap is just too much.
All this to say, purchasing good equipment saves a lot of trouble. And, oddly enough, while the price of everything else has been skyrocketing, the price of maple syrup kits has dropped significantly.
Bare Equipment needed:
- drill and drill bit (the spiles you buy will have a diameter given. Use the same size drill bit)
- spiles (as many as you need for the amount and size of trees you have)
- 3-5 gallon buckets
- lids for the buckets (ones that are made for maple tapping are ideal)
- Many 1 gallon pitchers or jug with lid for the fridge (You’ll want to pour the days’ sap into a bucket in the fridge and return the sap gathering bucket to the tree daily). Note: if you’ve tapped a number of trees and hit the right time of year, you may need barrels, not jugs, so be thinking of larger containers to hold the sap out in the cold until you can process it.
How and Where to Tap on the Tree
Trees need to be tapped about 3 feet above the ground and ideally under a large branch or flow point of the tree. Think of the sap flowing up and down the tree as the temperature changes. That’s what you want to collect.
You’ll need to drill into the tree around the 3 foot mark that you’ve chosen with a drill bit the size of your spile. Packages will usually tell you what that size the spile is. Drill at an angle so that the spile will slant slightly down so that the flow is encouraged to come out into your bucket.
If you are using tubing and have to drill closer to 2 feet from the ground, this will work as well.
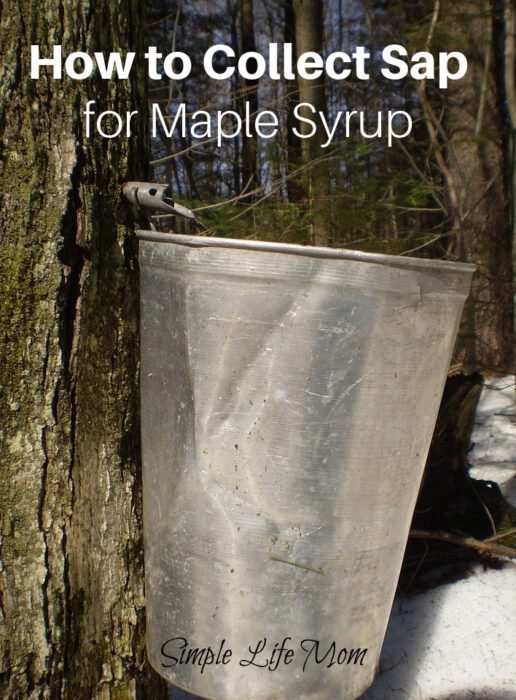
Once that is done, use a rubber hammer to hammer the spile into the tree. Hang the bucket on the spile and affix the lid. I didn’t have sap collecting buckets at first and I used gorilla tape to attach my bucket lids onto the spile and bucket at an angle so that the wind didn’t blow it off. The wind still blew them down and closed the lid so that precious sap was going onto the lid and then the ground and being wasted.
I think it’s worth looking for buckets for sap making. You can often find them on Amazon here or Ebay at a good price. You can also drill a hole into the side of the bucket near the top so that the spile can be attached to the tree through the hole in the bucket. Then you can attach the lid as usual.
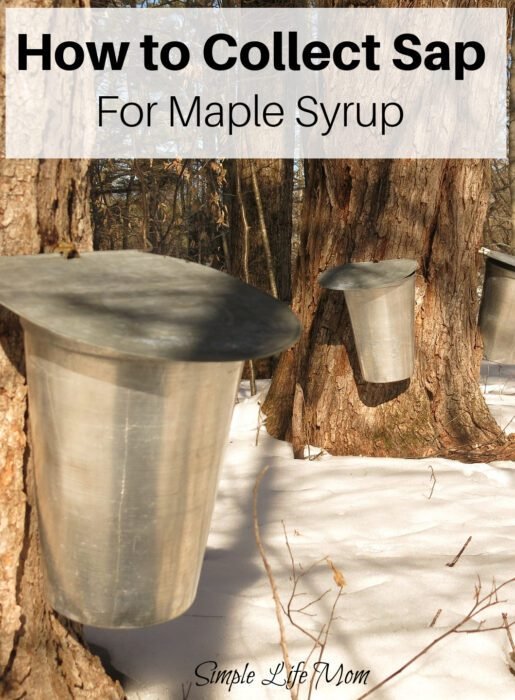
Lids will keep rain and leaves out of your buckets. Even on a still day, bark bits and leaves will get into your buckets because of squirrels, birds, and a light breeze.

How and When to Collect Sap (from buckets)
Check your trees daily. On warmer days when sap will flow faster, you’ll get a lot more sap. If you’re just tapping a few trees, then simply take a 5 gallon bucket with you to each tree and pour the sap from the buckets into the bucket. Check them often to prevent overflow!
Return the bucket to your refrigerator. Collecting daily will ensure that the sap doesn’t sour in warm weather. It can stay in the refrigerator for a few weeks before needing to be processed.
Collection Options
I mentioned the tubing method of collecting sap. When I first started, the tubing equipment was very expensive. Plus, I didn’t want to start with tubing until I felt like a mastered the collection and processing (thus I got by with only purchasing spiles). Now that I have other equipment, I don’t really feel the need to use tubing at this time, but I can see the draw.
Tubing equipment has gotten a lot cheaper over the past few years. If you want to jump straight to using tubing because you want to tap a whole lot of trees and want the best method right away, then you can find some here.
Now that you know all about collecting sap, the next step is to learn what to do with it. For now, start collecting and putting the sap in your fridge at the end of each day. Within one week you’ll need to process it.
Click here to learn how to process the sap into maple syrup.
Let me know what type of questions you have or if you do anything differently.


Leave a Reply
We'd love to hear your thoughts and ideas!