I get a lot of questions every week, almost every day, about how to make soap. One of the biggest questions I get is if you can make soap without lye. This gets into the differences between various soap processes: Melt and Pour vs Cold Process soap seems to be the biggest confusion. I thought it time to lay it all out and provide a resource that can help beginning soap makers and friends of yours who want to start, but have a lot of questions.
Can You Make Soap Without Lye?
There’s only one way to make soap: with lye. Think I’m wrong? let’s look into the chemistry a little.
Put very simply, when lye (sodium hydroxide or potassium hydroxide) is dissolved in water, it is ready to smoothly react chemically with oil. During this chemical reaction, lye and oil break down and bond to form something completely new: SOAP!
Oils are different from one another, so they will need slightly different amounts of lye to saponify (turn them into soap). Soap makers know this and make their recipes with a superfat value.
This just means a good soap recipe has a little bit of oils that will be left over after the chemical reaction. No lye is leftover. It’s all used up!
As you can tell: no lye, no soap!
Claims That you Can Make Soap without Lye
So what about all the Pinterest photos that advertise recipes for making soap without lye?
They are misleading. All they mean is that someone already handled the lye for you and the saponification process is done. Unless they’re just completely off the wall, those articles are all about melt and pour.
What is Melt and Pour?
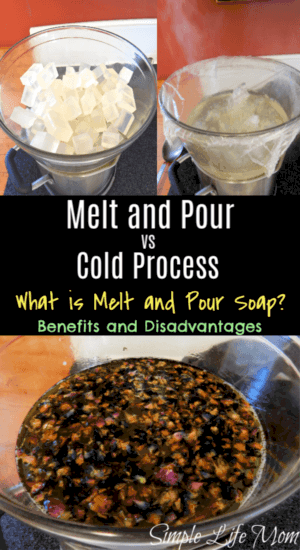
Melt and Pour is not making soap. It is artistically crafting soap that someone else made for you.
Soap Bases
To melt and pour soap, you need to start with a soap base. These are purchased in craft stores or online.
It’s important to know the ingredients. There are a lot of claims that ingredients are natural when they are not, or they are natural ingredients that are not healthy for a human body. For example:
- Tetrasodium etidronate (EDTA) is a common preservative in melt and pour soap bases, but it is formed from Formaldehyde and some studies have shown that is causes cancer in lab rats in small amounts.
- Some bases have pentasodium pentatate, which has been shown to irritate the skin.
- Sodium Cocoate, or Cocamide DEA is banned in some states and is considered carcinogenic.
So be careful of which soap bases you buy. The ingredients above come from a soap base labeled “Organic”! So it’s up to you to do your research. Don’t rely on Cosmetic Database. They started out with great intentions, but most of their data is very outdated and many studies contradict their ratings.
Adding Scent
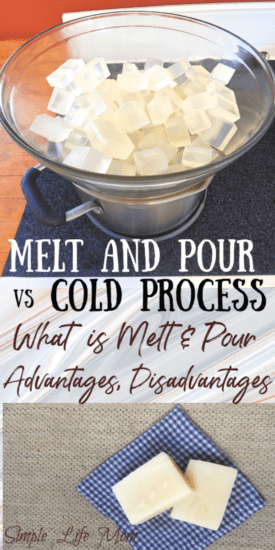
You can cut the base into small squares and place in a double boiler. After it’s melted you can add scents. I highly recommend using only essential oils. Fragrance oils are man made and often harmful. Learn more here.
Adding Color and Other Additives
You cannot add oils to your melted soap base because it doesn’t have any active lye to convert it to soap. It will only make your soap soft or oily.
You can add clays for coloring, as well as exfoliates like ground oats. Learn more about adding color to soap here or herbs to add here.
Melt and Pour vs Cold Process Soap
So, lets get to Melt ad Pour vs Cold Process. There are advantages and disadvantages to each. I am obviously going to be biased to my preference, but I will try to point out some things that you can weigh when you’re trying to decide how to get started.
Control of Ingredients
This one goes to cold processing soap. As mentioned above, it can be very difficult to find a base without questionable ingredients.
Adding Ingredients
When it comes to adding ingredients, you have the most freedom with cold and hot process. You cannot add milk to melt and pour, or other additives that contribute too much liquid. Adding oils or milks will effect the hardness of the final soap bars.
That doesn’t mean you can’t add ingredients to melt and pour. You definitely can add very small wonderful amounts of oils, colors, and essential oils. It just locks you in to certain amounts and out of adding honey and milk.
Handling Lye
Dealing with lye for me is like dealing with toilet bowl cleaner. There is no need to be afraid of it, just don’t let it touch you. I use gloves and pour it into water on my back porch (winter or summer, always outside because it gives off a gas when it reacts with the water for about one minute). I let it cool and bring it in to pour into the oils. Yes, I’ve gotten lye splashes on my arms and hands many times. I’m very aware of what I’m doing and wash right away. You can feel a little itch if you don’t notice it. Remember, no lye is left over after making soap, making it a healthy option for natural soap making.
BUT, if you would rather avoid dealing with lye altogether, melt and pour is a great option. Melt and pour has lye that has already been processed for you. You can melt it, add your own color and scent and herbs, then pour into a cute mold to have designed soaps.
Kid Friendly
Melt and Pour is a great craft to do with your kids. While cold and hot process soap deals with lye, melt and pour is a fun way for kids to “make soap” by melting and pouring into fun molds. You still have to deal with hot soap, but older children will have no problem being careful with your guidance. And molds come in all types of designs: flowers, shells, Disney characters, you name it!
Have more questions? Let me know and I’ll do my best to help out.



30 Comments
Leave your reply.