One thing I look forward to in the Summer and Fall is a bountiful harvest of tomatoes. Being able to harvest a lot of tomatoes means having enough sauce to last throughout the winter and the beginning of summer. Learning how to process tomatoes for sauce is a wonderful skill to have.

I plant a variety of tomatoes each year. I always plant in a new location from the previous year, even if that means only moving them to the right side of the bed instead of the left side. If I can fend off all disease and deer for as long as possible, there’s a big chance that I will be picking huge buckets of tomatoes every few days, especially in August.
It’s important to know how to process tomatoes, otherwise, you’ll have tomatoes in every part of your kitchen beginning to go to waste (What’s good to remember is that freezing tomatoes temporarily while you wait to get enough or wait for a day to process them all is totally fine).

Processing tomatoes can be done in many ways, depending on what kind of tools you have and how many steps you want to go through. After all, there’s a time in processing a harvest when you start saying, “leaving the seeds in there is totally fine!” or “It doesn’t need to be pureed.” So, it’s up to you! If it fits your recipes, then that’s how you should process them.
Processing Tomatoes for Sauce
I’m all for trying to do things wtihout soecialized tools if possible. Sometimes that makes things more difficult or take longer to finish. but sometimes that’s all you can afford.
I’m going to give you the steps that I take for processing tomatoes in bulk without any processing tools.
Processing Steps
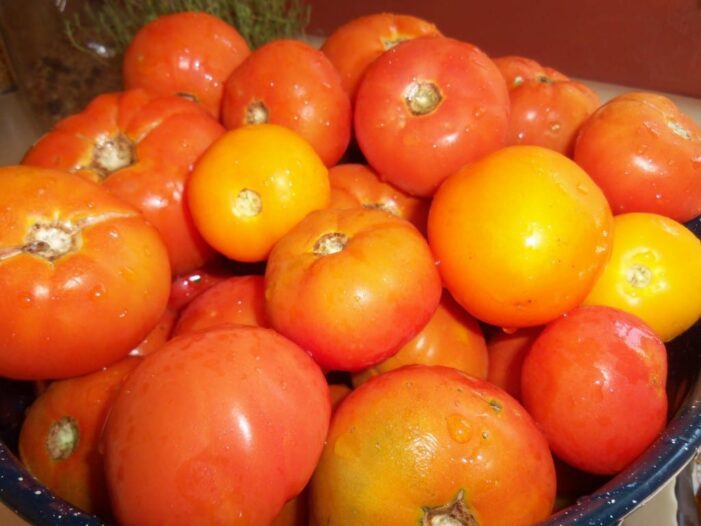
1. Wash your tomatoes and put them into a giant pot (I did divide them into 2 pots after the picture).
2. Add water and boil until skins loosen.
3. Remove them from the heat and carefully pour them into a colander. Run cold water over them while they’re still in the colander and let them cool.
4. Here is where it would be nice to have a sauce maker like this one. If you have a blender, do option a. If you want to just use a wire mesh, then follow option b.
- a) Pour the tomatoes into a blender and blend well. Pour the blended tomatoes through a wire mesh colander if desired.
- b) Place the colander over your pot and crush the tomatoes until all that is left in your colander is skins and some seeds. You can then strain again through a wire mesh to remove the seeds.
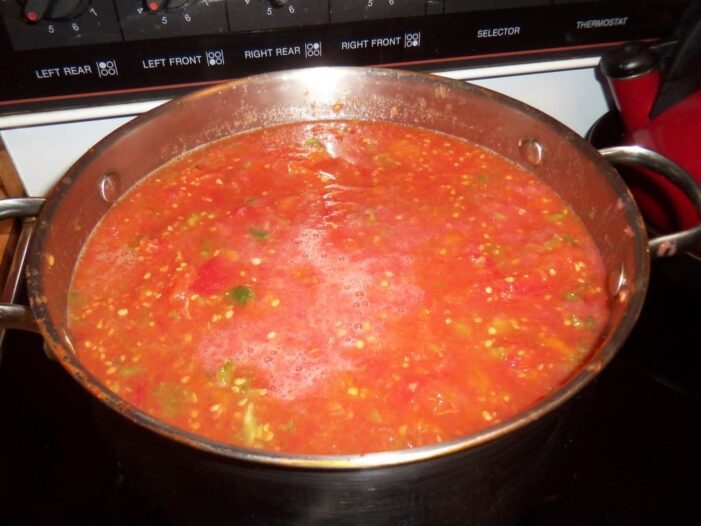
NOTE: For the photo below I had not done step 4 yet. I put my final mixture in a blender and did not want to bother with deseeding. Use either method that you prefer. If you choose to use the blender, you will have some seeds left.

5. Add to taste:
- chopped green pepper
- chopped onion
- oregano
- basil
- garlic
- salt
6. Bring sauce to a simmer to thicken the sauce. Stir often so nothing burns on the bottom! When the sauce is to the consistency and taste that you want, it’s time to can!
7. Prepare canning jars. Kill all bacteria on jars by placing in boiling water for 10 minutes.
8. Add 1 tablespoon of lemon juice for each quart jar. This increases the acidity just enough to counteract the vegetables that you added and to make sure your sauce stays fresh. When I remove the sauce for use I will add a little but of sugar to balance this acidity.
9. While sauce is still very hot, pour into jars, leaving 1/2 inch of space at the top (if you do not fill enough, they will not seal properly).
10. Seal and process them in boiling water for 15 minutes (If you are starting with cold sauce you would need to process them for 40 minutes). Remove the jars from the water and allow them to cool. You will see (and hear) the tops pop down when they are almost cool.
You’ve just canned sauce that will last a long time on your shelf! Make sure to label the jars so that you remember what you made and when.
If you do not want to can, you can still put it into jars and freeze them. Just make sure you leave more room at the top (at least 2 inches). Frozen liquid expands and you don’t want the jar to burst. I’ve done that before. Then you lose all of your hard work.
Canning really is the best way to go.


14 Comments
Leave your reply.