I discussed the 8 Reasons Salt Soaps are Fabulous for the Skin. If you need some motivation to give these fun bars a try, then check that out. Today, I want to cover How to Make Natural Salt Soap Bars.
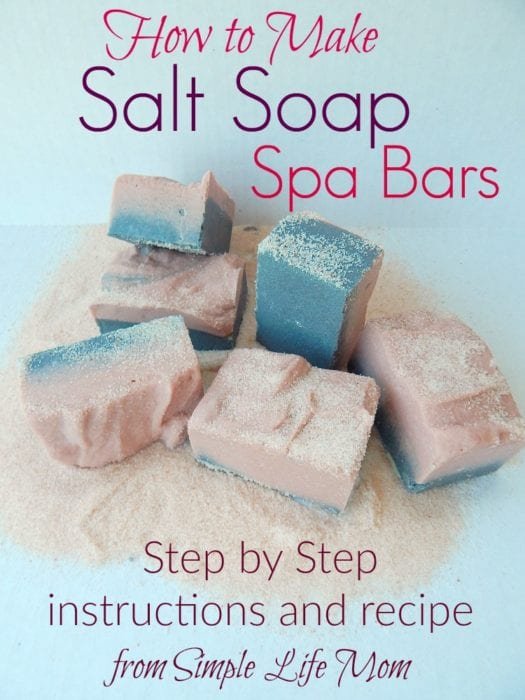
If you are a soap maker, but have never tried salt soaps, then you need to understand that there are some differences that you need to make to your recipe and procedure, depending on what type of mold you are using.
Even if you’ve never made soap before then you CAN do this.
I usually recommend that people make a basic soap recipe first, but there is no reason why you cannot make this type. I always say, making soap is like baking a cake. Just follow instructions carefully and measure carefully and you’ll do great.
Even if you do make mistakes, hot processing always saves the day!
Start with my 7 Easy Steps to Homemade Lye Soap for Beginners.
How to Make Natural Salt Soap Bars
When you design a soap recipe, it’s good to think of your ingredients in categories of oils, lye water, and other additives (essential oils, salts, honey, etc.). You also need to consider what superfatting percentage you will use. This is the amount of oils that will be left over after all the lye is used up (also called lye discounting).
Altering Oils
First, a regular basic (but awesome) body bar may have oils in this ratio:
- 43% tallow
- 31% coconut oil
- 26% olive oil
When making a salt bar, however, the coconut ratio should be greatly raised.
I recommend 70%, but some people will use up to 100% coconut oil.
The reason is that not many oils will saponify in a way that they will create a bubbly or lathering soap when that much salt is present. Coconut does. My recipe above changed to a salt bar recipe with 70% coconut oil would be:
- 70% coconut oil
- 30% olive oil
- getting rid of the tallow all together.
NEXT, I may decide that I want to encourage even more bubbles by changing up my 30% of other oils and not using just olive oil. Castor Oil is great for bubbles, and avocado or jojoba oils are very nourishing to the skin, so I may change my percentages to reflect a more rich soap such as:
- 70% coconut oil
- 10% olive oil
- 10% castor oil
- 10% jojoba oil
Supperfatting
Normal soap bars are superfatted.
When lye molecules pair with oil molecules to make soap, more than enough oil is added so that some oil is left over. This is lye discounting (there’s not enough lye to cover all the oils present).
A typical body bar is 5% lye discounted. Due to the salt and coconut content of a salt bar you will want to raise the superfat percentage to 15-20%. I prefer 20%. It’s what I’ve had great success with and so it’s what I stick to, but others swear by less (and sometimes more). Either way, it needs to be higher than you use for normal body bars.
Amount of Salt
The salt amount used is compared to the amount of oils in ounces. For example, if you are using 35oz of oil in your recipe, then a 1:1 ratio or 100% ratio would be adding 35oz of salt.
The amount of salt can vary depending on your preference. A 50% ratio (e.g. 32oz oil, 16oz salt) will give you a nicely salted soap that is more akin to traditional soaps. While a higher salt ratio will give you a harder and grittier bar of soap (super fun!). I think, if you’re going to make a salt soap, go all the way. 85-100% makes a great salt bar.
Type of Salt
There are certain ingredients that can cause a soap to sweat. In general, a high mineral content like that in dead sea salt and Epsom salt can make the bars sweat ridiculously. You don’t want that. There are many beneficial minerals in sea salt, Himalayan salt, etc. Choose those instead.
Curing and Slicing
The salt in these bars make it set up fast. You need to have your essential oils or colorants ready and add them before adding the salt. After incorporating the salt really well, pour into your mold. If you have a divided mold (no cutting required) then your life will be a lot easier! I pour mine and wait 3-4 hours for it to harden, then remove from the mold. In my experience, you do not need to insulate it for 24 hours unless the salt content is 50% or lower.
If you are using a slab mold (cutting required after curing) then the oven method may be your best bet. No, this is NOT hot processing. You will want to put your oven on its lowest setting (mine is 170 degrees F). After you pour your soap in the slab mold, put it in your oven and turn the oven off. This will keep it soft enough as it continues to process, allowing you to remove it and still be able to slice it. After 3 hours check to see if it is hard enough to cut. If so, remove it and slice it. Waiting 24 hours would make it very difficult to cut, making it crumble in your effort.
Want Specific Recipes?
I’ve written 6 Handmade Salt Soap Recipes for you to choose from and try. Make sure you click over to the recipes to learn more and get even more ideas.
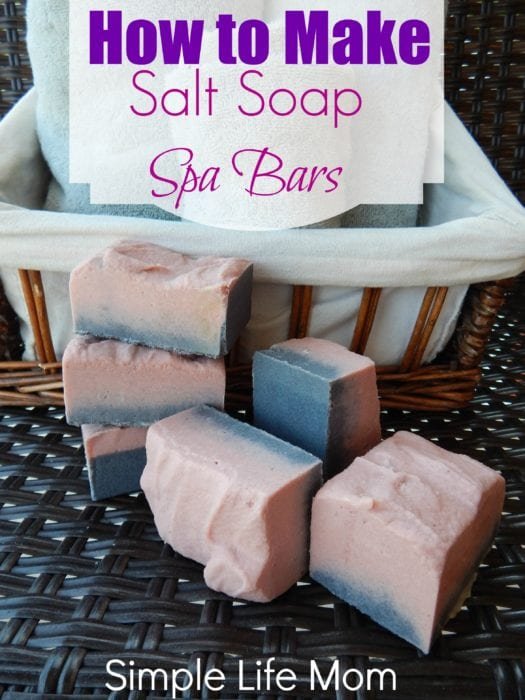
Have you made Salt bars before? What are your favorite percentages?




50 Comments
Leave your reply.