I tried using shampoo bar soap before and it did not work. No one told me that you usually have to wait about 2 weeks for your hair to stop overproducing oils from being stripped consistently with store-bought shampoos or that sometimes hard water makes it difficult, or that you need to use a conditioner afterwards to help with the mineral deposits and pH balance.
In other words, there’s more to just grabbing a shampoo bar and washing your hair. This isn’t for everyone and we are fortunate that there are many hair products available that cater to a wide amount of needs.

You can find shampoo bar recipes for all hair types here.
When I first started using shampoo bars, I had to give myself a few weeks to adjust my overly stripped hair and scalp before I saw a huge difference.
I had to do a baking soda rinse to help get rid of the last of the product residues and follow with apple cider vinegar, then wash. This is hard on the hair and I don’t recommend doing that unless you have serious build up.
I really love this shampoo bar and am glad that I went ahead and made the transition.
Here’s a full guide on How to go No ‘Poo. Make sure you check it out if you are new to shampoo bars.
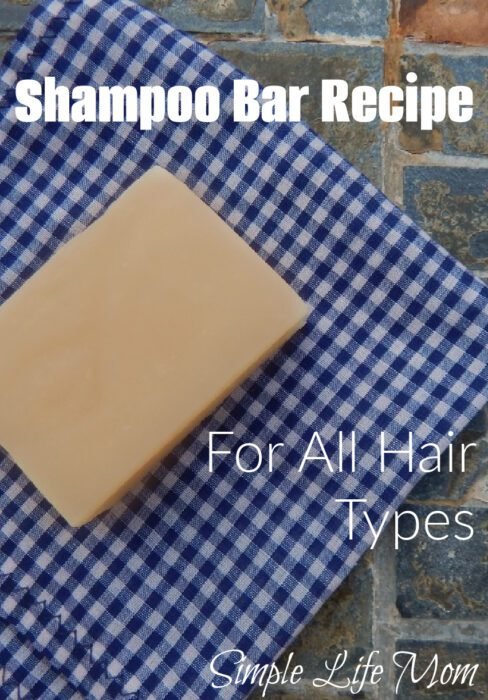
This is the wonderful recipe that I have been using.
There are many options that you can try if you are making your own (add what you love).
If you would like more shampoo bar options, here are 7 Homemade Shampoo Bar Recipes to choose from as well.
You can also forgo that shampoo and wash with a rinse. Check out Shampoo Rinses and Herbal Rinses.
Conditioner recipes can be found here and here.
This is a shampoo bar made with the cold processed soap method. Why is it considered a shampoo bar instead of a body bar? The oils chosen are specific to caring for your hair and it is formulated to lather beautifully for ease of use.
Shampoo Bar Soap Recipe
Coconut Milk Shampoo Bar Recipe
Equipment
- 1 scale
- 1 3lb mold
Ingredients
- 9 ounces Coconut Oil
- 9 ounces Olive Oil
- 6 ounces Castor Oil
- 3 ounces jojoba oil
- 2 ounces shea butter
- 2 ounces cocoa butter
- 1 ounce Beeswax
- 8 ounces coconut milk
- 4 ounces water
- 4.2 ounces lye
- 1 ounce essential oils of choice
Instructions
- Weigh oils and butters and melt in large stainless steel pot. Cool to 80-90 degrees Fahrenheit.9 ounces Coconut Oil, 9 ounces Olive Oil, 6 ounces Castor Oil, 3 ounces jojoba oil, 2 ounces shea butter, 2 ounces cocoa butter, 1 ounce Beeswax
- Wearing gloves, weigh lye into a plastic zip close bag and set aside. Weigh and combine coconut milk and water in a separate container. Take both outside and put on goggles, charcoal filter mask, and gloves. Pour lye into milk water and stir until dissolved. Allow to cool to 80-90 degrees Fahrenheit.8 ounces coconut milk, 4.2 ounces lye
- When both lye water and oils are 80-90 degree Fahrenheit, pour lye water into oils and mix with a stick blender on and off until trace.
- Add essential oils and follow one of the options below.1 ounce essential oils of choice
Hot Process:
- The hot process method is loved by many because you can use it immediately after cooling; texture and look of soap is lightly different. After bringing to trace, cook in crock pot on medium to low heat for 1 hour. Mixture will become more translucent (you’ll see the difference). Then pour/scoop into a lined mold until cool.
- When cool, take out and slice. Store in a lightly vented container.
Cold Process:
- Cold processing means having to wait 3-6 weeks while the soap hardens. It will give a smooth finish. After trace, pour into mold and insulate for 24 hours.
- Remove from mold and slice, let air for 3-6 weeks before using.


27 Comments
Leave your reply.